HOW TO MAKE A BASIC SOURDOUGH, AND NOT LOSE YOUR MIND IN THE PROCESS
Chefs aboard yachts are in a unique position to offer advice on how to cook at home during the coronavirus pandemic as they are accustomed to working with limited freezer and fridge space and infrequent access to grocery stores. One of the most fundamental ways of making your food go further is baking your own bread.
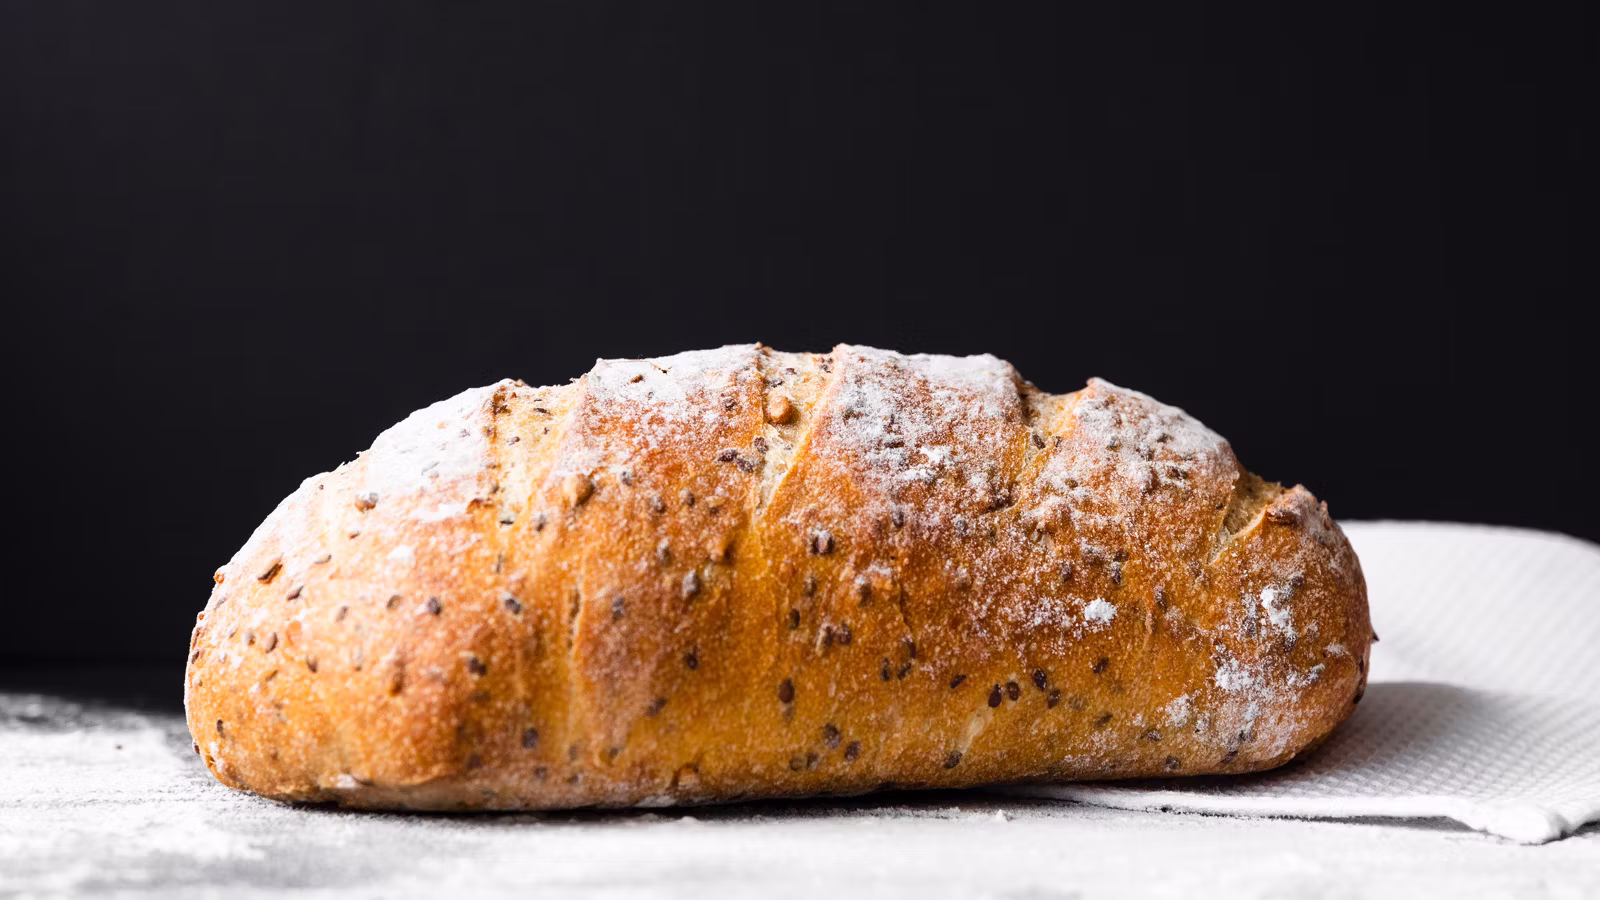
One of IYC’s top yacht chefs shared her easy sourdough recipe with us below. Be sure to check out her sample quarantine menu here.
Many are intimidated by bread baking but they needn’t be. Surrender yourself to the process and be patient; within time you’ll be making bread from muscle memory.
Ingredients
Wholegrain bread flour (wheat, rye or spelt)
Strong bread flour
Salt
Equipment
Bowl
Scale
Dutch oven
Making your starter
This is not an all together complicated process, but if you’re a beginner and want to learn more, others have covered the topic in great detail. This is one of my favorite resources for growing your own starter, but I outline my basic process below. I would recommend reading up on this aspect but not losing yourself entirely – you don’t need to do it perfectly to make good bread. You’ll figure it out after a few tries.
My basic recipe is 50g wholegrain wheat flour and 50g water. After I mix, I continue to feed the starter every day (around 20g flour and 20g water) until I see good activity. At that point I begin to discard before feeding so I don’t end up with too much starter. After seven to 10 days the starter should be robust enough to work with. To test for readiness see if a scoop floats in water.
Maintaining your starter
I keep my developed starter in the fridge and feed it once or twice a week depending on how it’s looking. This helps slow down its growth. If you’re making bread every day you can keep it on the counter.
Making your sourdough (a rough schedule)
Making sourdough takes around 24 hours from start to finish. You mix your starter in the morning with more flour to create a levain, then make your bread in the afternoon/evening, allow it to ferment overnight and bake in the morning.
Make your levain
The morning of the day you want to make your sourdough, mix around 50g of your starter (feed the remaining starter with fresh flour and place back in fridge or on the counter) with another 50g strong white bread flour, 50g wholegrain flour and 70-100g water. This mixture of starter with fresh flour is called levain. If it’s very warm in your kitchen you may want to experiment with doing this around noon so the starter doesn’t overdevelop.
Calculate that your sourdough will be ready around 3 and a half hours from when you begin mixing it. I like to start mixing my sourdough around 5PM so everything is finished around 8PM.
Making your sourdough
300g strong white bread flour
120g wholegrain flour (wheat, rye whatever)
90g of your levain
290g water
10g salt
Mix above ingredients in a big bowl with your hand for a few minutes until it comes together. It will be very tacky, don’t worry. Cover and leave for 45 minutes. This process is called autolyse and makes the dough easier to work with.
After 45 minutes add 10g of salt and work it into the dough. You don’t need to knead it too much, just make sure the salt is incorporated. Keep the dough in the bowl for the entire bread-making process, there is no need to tip it out (unless you want to). After the salt is mixed in, proceed with your first ‘stretch and fold.’ Watch this video for a no measurement recipe as well as a demonstration on stretch and fold. Cover and leave for 45 minutes.
After 45 minutes, continue with another round of stretch and fold. Cover and leave for another 45 minutes.
And for one last time after the 45 minutes continue with another round of stretch and fold. Cover and leave for another 30 minutes.
Note: feel free to experiment if you feel your dough needs fewer stretch and folds or an extra one, these are just general guidelines.
After 30 minutes you can shape the dough – there are plenty of online resources for this. Most of the time I simply transfer the dough into a bowl lined with a well-floured towel and shape directly in the bowl. Pinch the edges of the dough, bringing them into the centre, working in a circle until you’re happy with the tension you’ve created. Sprinkle with more flour or semolina and place in the fridge overnight, covered with the towel.
Baking
In the morning place your Dutch oven in your oven and heat to 250C. When the oven reaches temperature, remove the Dutch oven and carefully lower your dough into it by tipping it out of the bowl and dropping it – this takes practice. Cut the top of the dough with a sharp knife a couple times. Cover and place in the oven, immediately lowering the temperature to 220C, and bake for 20 minutes.
After 20 minutes remove the cover of the Dutch oven and lower the temperature to 200C. Continue to bake for 40 minutes.
Allow your bead to cool completely before slicing to avoid gumminess.